
Sheepy is a cryptocurrency payment gateway that allows you to accept crypto payments on your website or app. You can use Sheepy’s API and integrations to create invoices, manage addresses, refund customers, and more. The History page shows you all the transactions you have made with Sheepy, a crypto payment provider that supports various assets and currencies.
To keep track of your crypto payments and transactions history, visit the History page on Sheepy:
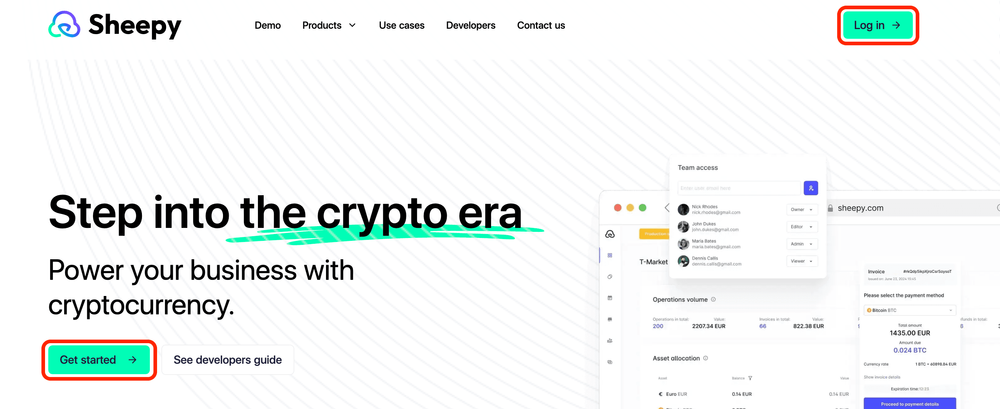
1. Log in to your Sheepy account. If you don’t have an account yet, you can sign up here.
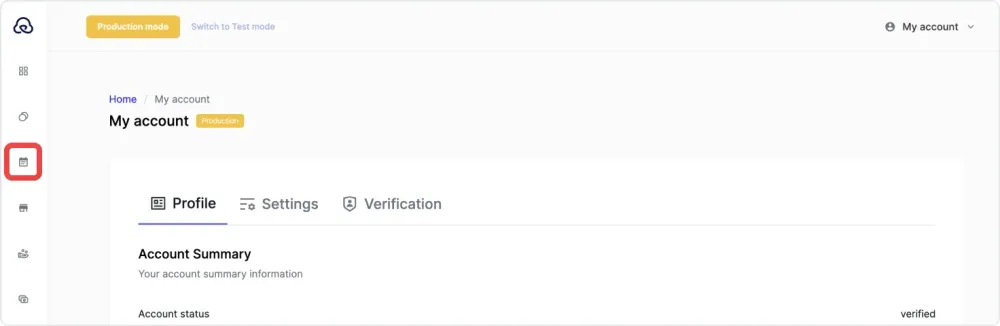
2. Once you are logged in, click on the “History” tab in the left menu.
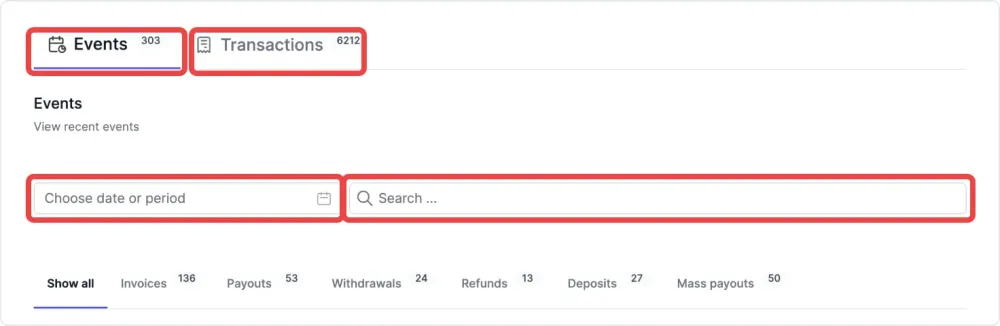
3. On this page you may find all your recent events and transactions.
You can switch between the “Events” and “Transactions” tabs by clicking on the one you need.
You can sort them by date or period or search for them by event/transaction ID or address if needed.
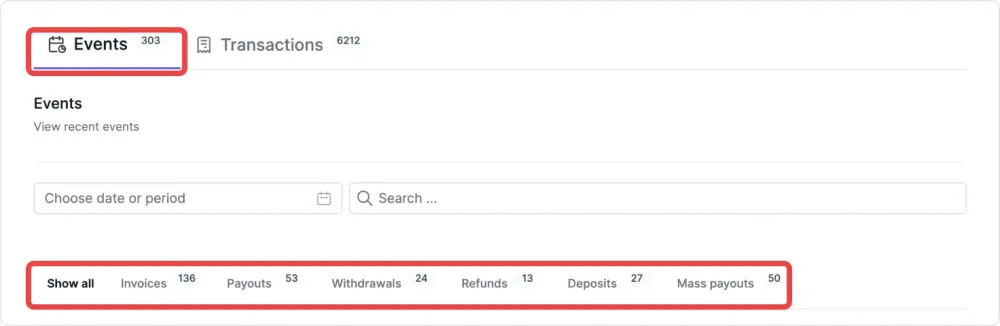
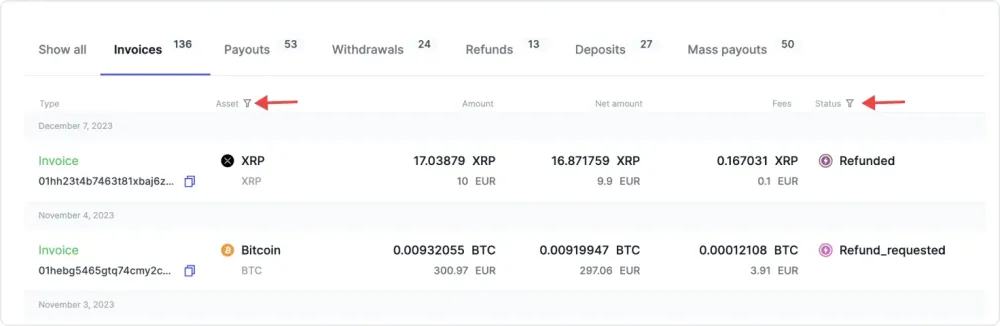
4. On the “Events” tab you may see such actions as:
- Invoices: These are the requests for crypto payments that you have created or received from your customers.
- Payouts: These are the transfers of funds from your Sheepy account to your preferred currency or asset.
- Withdrawals: These are the transfers of funds from your Sheepy account to your external bank account or wallet.
- Refunds: These are the returns of funds to your customers for their crypto payments.
- Deposits: These are the transfers of funds or cryptocurrency into your Sheepy account from an external source, such as a bank account or a different crypto wallet.
- Mass Payouts: These are the bulk processing of multiple payments from your Sheepy account to various recipients, typically used for handling large-scale disbursements like payroll, affiliate rewards, or vendor payments.
Also, you can see the details of each transaction, such as:
- Invoice ID: The unique identifier of the invoice.
- Asset: The cryptocurrency that was used for the payment.
- Amount: The amount of cryptocurrency that was paid or refunded.
- Net amount: The amount of cryptocurrency that was received or sent after deducting fees.
- Fees: The fees charged for processing the transaction.
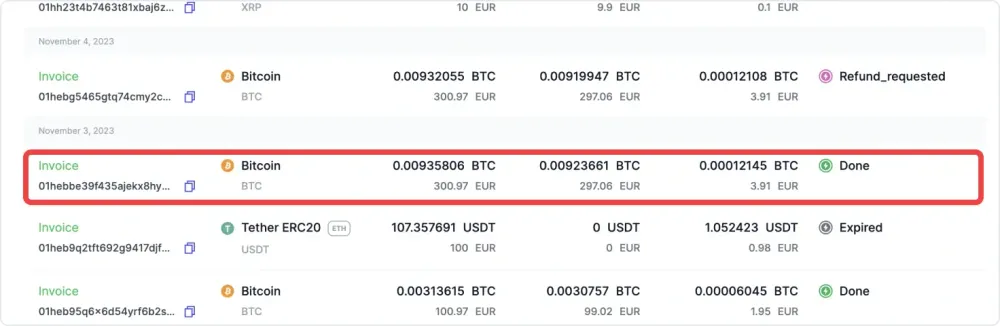
- Status: The current state of the transaction (e.g. paid, expired, refunded).
You can also filter transactions by asset or status by clicking on the corresponding icon.
Click on the transaction you want to see more details.
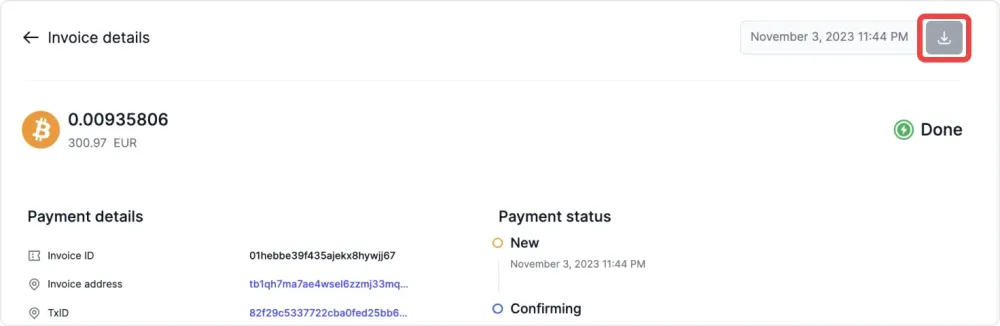
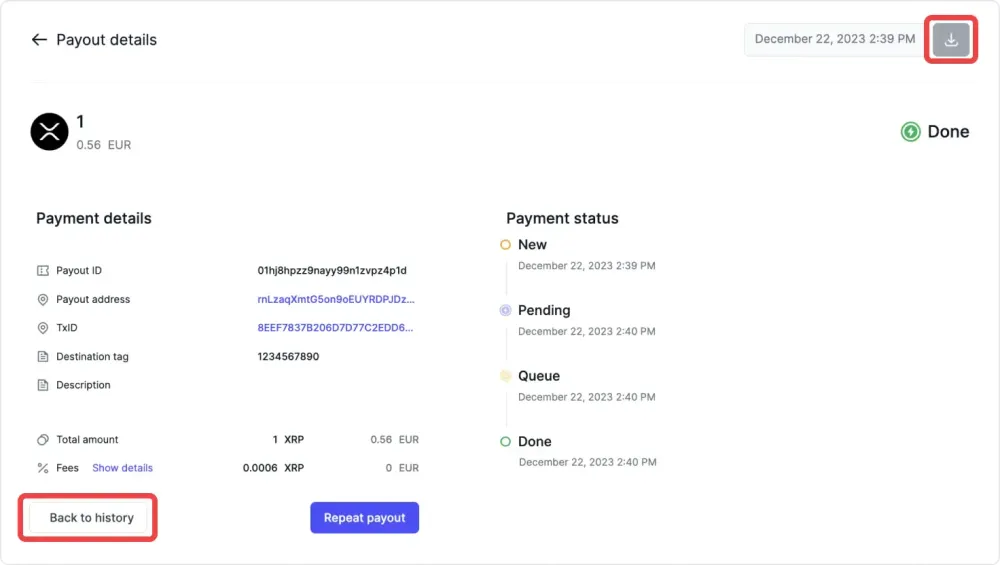
On the next page, you can find detailed information on a specific event, such as:
- Payment date: The date and time when the payment was made or refunded.
- Payment status: The current state of the payment.
- Payment ID: The unique identifier of the payment.
- Payment address: The address where the payment was sent or received.
- TxID: The transaction ID on the blockchain network.
- Amount: The amount of cryptocurrency that was paid or refunded.
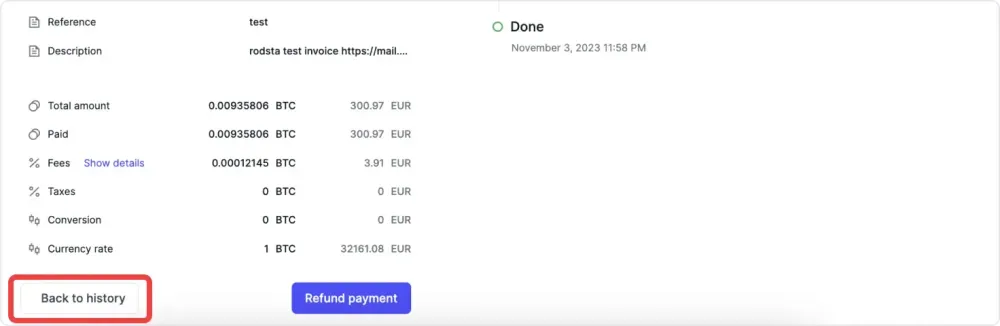
- Fees information: The fees charged for processing the payment.
You can also go back to the History page, or export the data by clicking on the download icon in the upper right corner.
5. On the “Transaction” tab you may find all recent transactions:

To filter transactions by type or asset, click on the relevant icon.
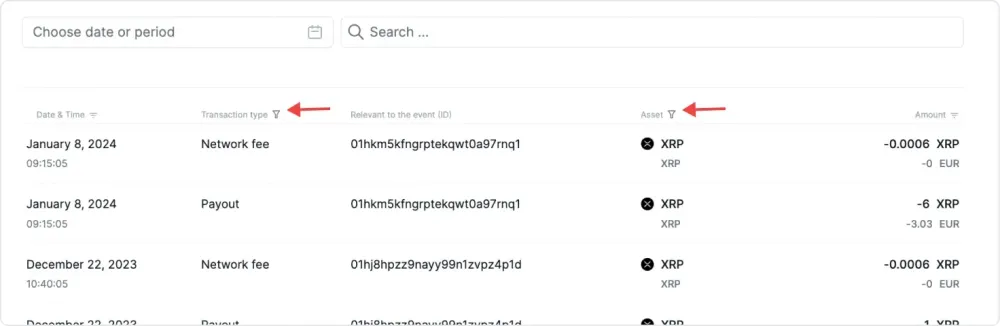
Clicking on the specific transaction will show you more details, such as:
- Payment date: The date and time when the transaction was made.
- Payment status: The current state of the transaction.
- Payment ID: The unique identifier of the transaction.
- Payment address: The address where the transaction was sent or received.
- TxID: The transaction ID on the blockchain network.
- Amount: The amount of cryptocurrency that was transferred.
- Fees information: The fees charged for processing the transaction.
You can also go back to the History page, or export the data by clicking on the download icon in the upper right corner.
You can export your transaction history as a CSV file for your records or accounting purposes. The History page helps you keep track of your crypto payments and manage your business with ease.
'%3e%3cpath%20d='M4%2013C4.325%2015.532%205.881%2017.781%208%2019'%20stroke='%231C1D39'%20stroke-width='2'%20stroke-linecap='round'%20stroke-linejoin='round'/%3e%3cpath%20d='M20%2011.0002C19.7554%209.24041%2018.9391%207.60985%2017.6766%206.35969C16.4142%205.10953%2014.7758%204.30911%2013.0137%204.08175C11.2516%203.85438%209.46362%204.21268%207.9252%205.10144C6.38678%205.9902%205.18325%207.36013%204.5%209.00019'%20stroke='%231C1D39'%20stroke-width='2'%20stroke-linecap='round'%20stroke-linejoin='round'/%3e%3cpath%20d='M4%205V9H8'%20stroke='%231C1D39'%20stroke-width='2'%20stroke-linecap='round'%20stroke-linejoin='round'/%3e%3cpath%20d='M12%2015H14C14.2652%2015%2014.5196%2015.1054%2014.7071%2015.2929C14.8946%2015.4804%2015%2015.7348%2015%2016V17C15%2017.2652%2014.8946%2017.5196%2014.7071%2017.7071C14.5196%2017.8946%2014.2652%2018%2014%2018H13C12.7348%2018%2012.4804%2018.1054%2012.2929%2018.2929C12.1054%2018.4804%2012%2018.7348%2012%2019V20C12%2020.2652%2012.1054%2020.5196%2012.2929%2020.7071C12.4804%2020.8946%2012.7348%2021%2013%2021H15'%20stroke='%231C1D39'%20stroke-width='2'%20stroke-linecap='round'%20stroke-linejoin='round'/%3e%3cpath%20d='M18%2015V17C18%2017.2652%2018.1054%2017.5196%2018.2929%2017.7071C18.4804%2017.8946%2018.7348%2018%2019%2018H20'%20stroke='%231C1D39'%20stroke-width='2'%20stroke-linecap='round'%20stroke-linejoin='round'/%3e%3cpath%20d='M21%2015V21'%20stroke='%231C1D39'%20stroke-width='2'%20stroke-linecap='round'%20stroke-linejoin='round'/%3e%3c/g%3e%3cdefs%3e%3cclipPath%20id='clip0_112_4974'%3e%3crect%20width='24'%20height='24'%20fill='white'/%3e%3c/clipPath%3e%3c/defs%3e%3c/svg%3e)
'%3e%3cpath%20d='M8%206C8%205.46957%208.21071%204.96086%208.58579%204.58579C8.96086%204.21071%209.46957%204%2010%204H18C18.5304%204%2019.0391%204.21071%2019.4142%204.58579C19.7893%204.96086%2020%205.46957%2020%206V14C20%2014.5304%2019.7893%2015.0391%2019.4142%2015.4142C19.0391%2015.7893%2018.5304%2016%2018%2016H10C9.46957%2016%208.96086%2015.7893%208.58579%2015.4142C8.21071%2015.0391%208%2014.5304%208%2014V6Z'%20stroke='%231C1D39'%20stroke-width='2'%20stroke-linecap='round'%20stroke-linejoin='round'/%3e%3cpath%20d='M4%2010C4%209.46957%204.21071%208.96086%204.58579%208.58579C4.96086%208.21071%205.46957%208%206%208H14C14.5304%208%2015.0391%208.21071%2015.4142%208.58579C15.7893%208.96086%2016%209.46957%2016%2010V18C16%2018.5304%2015.7893%2019.0391%2015.4142%2019.4142C15.0391%2019.7893%2014.5304%2020%2014%2020H6C5.46957%2020%204.96086%2019.7893%204.58579%2019.4142C4.21071%2019.0391%204%2018.5304%204%2018V10Z'%20stroke='%231C1D39'%20stroke-width='2'%20stroke-linecap='round'%20stroke-linejoin='round'/%3e%3c/g%3e%3cdefs%3e%3cclipPath%20id='clip0_112_4982'%3e%3crect%20width='24'%20height='24'%20fill='white'/%3e%3c/clipPath%3e%3c/defs%3e%3c/svg%3e)


