How to set up your integration profile for crypto payments with Sheepy
Sheepy is a cryptocurrency payment gateway that allows you to accept crypto payments on your website or app. You can use Sheepy’s API and integrations to create invoices, manage addresses, refund customers, and more. To use Sheepy’s services, you need to set up your integration profile with your profile settings, notifications and assets.
Here are the steps to set up your Integration Profile:
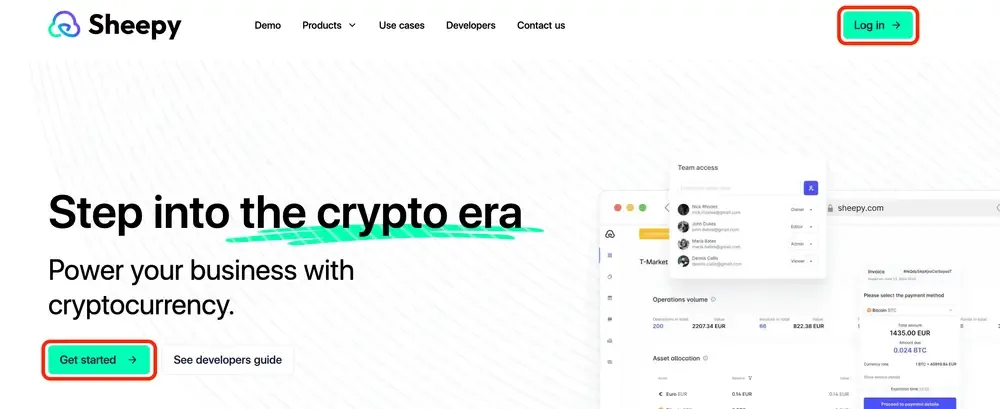
1. Log in to your Sheepy account. If you don’t have an account yet, you can sign up here.
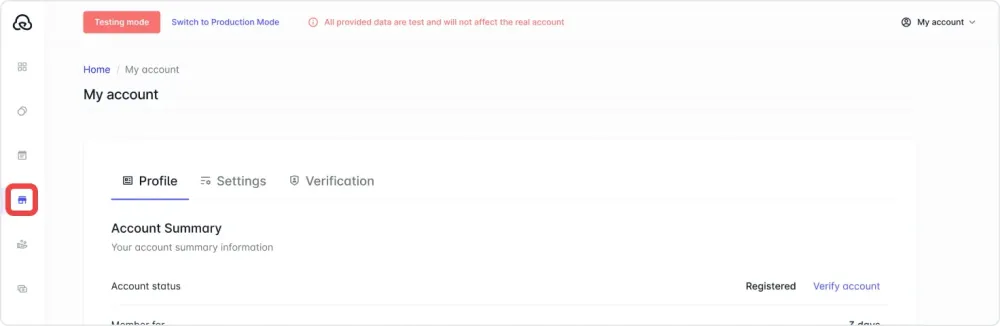
2. Once you are logged in, click on the “Integration” tab in the left menu.
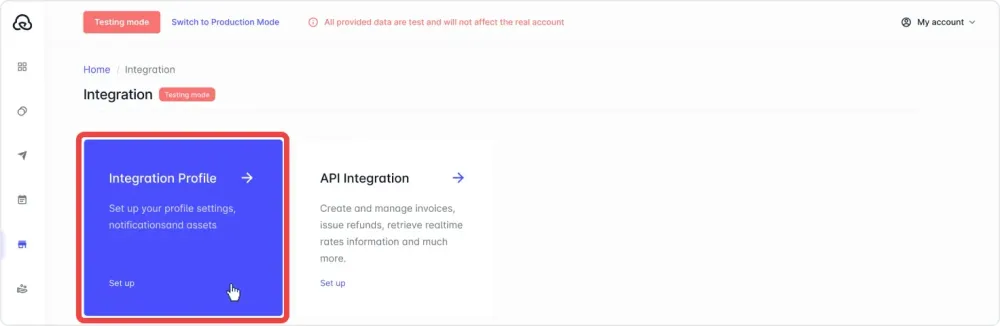
3. Click on the “Integration Profile” tab to set up your profile settings, notifications, and assets.
On this page, you can edit your integration profile name, domain name, and URL.
- Enter a descriptive name for your integration profile: This will help you identify your profile among other integrations.
- Enter the domain name of your website where you want to accept crypto payments: This will help Sheepy verify your site and prevent fraud.
- Enter the URL of your website.

Next, select the currency you preferred from the dropdown list. This will be the currency that you will receive from Sheepy after converting your crypto payments.

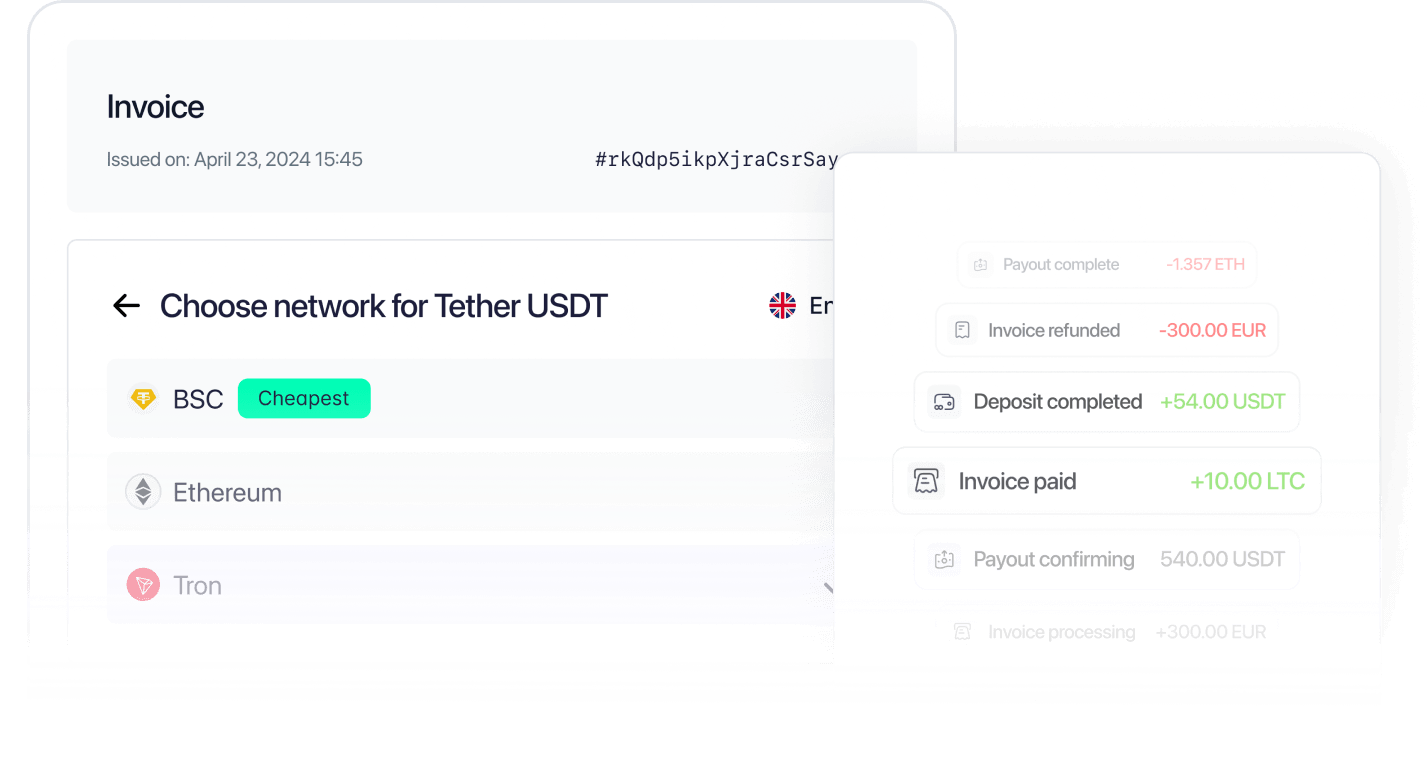
You can choose which cryptocurrencies you want to accept from your customers. You can select multiple assets or just one.
If you check the box for completing paid expired invoices automatically, it means that when an invoice has a due date that has passed and the customer has already paid for it using cryptocurrency, the invoice will be marked as completed automatically by Sheepy.

The next step is to set up your fees and taxes preferences.


The next stage involves setting up asset conversion.
Using this feature allows you to convert the cryptocurrency payments you receive from your customers into fiat currency or other digital assets. This can help you to manage your cash flow, reduce FX risks, and access more withdrawal options.
To set up asset conversion on Sheepy, you need to specify the parameters for the conversion, such as:
- Conversion type (e.g. partial conversion).
- Conversion percent (if you choose partial conversion, you can enter the percentage of your crypto payments that you want to convert).
- Destination currency: This can be the same as your preferred currency or a different one.

The final step is to set up your email notifications.
After making needed edits, click the “Save settings” button. You have successfully set up your integration profile with Sheepy!
You can always edit your integration profile settings later if you need to. To learn more about how Sheepy works and explore additional features, visit the Sheepy FAQ section.

'%3e%3cpath%20d='M5.33337%2017.3333C5.76671%2020.7093%207.84137%2023.708%2010.6667%2025.3333'%20stroke='%231C1D3B'%20stroke-width='2'%20stroke-linecap='round'%20stroke-linejoin='round'/%3e%3cpath%20d='M26.6667%2014.6667C26.3406%2012.3203%2025.2521%2010.1462%2023.5688%208.47934C21.8856%206.81246%2019.701%205.74524%2017.3516%205.44209C15.0021%205.13893%2012.6182%205.61666%2010.5669%206.80168C8.51571%207.98669%206.911%209.81326%206%2012'%20stroke='%231C1D3B'%20stroke-width='2'%20stroke-linecap='round'%20stroke-linejoin='round'/%3e%3cpath%20d='M5.33337%206.66666V12H10.6667'%20stroke='%231C1D3B'%20stroke-width='2'%20stroke-linecap='round'%20stroke-linejoin='round'/%3e%3cpath%20d='M16%2020H18.6667C19.0203%2020%2019.3594%2020.1405%2019.6095%2020.3905C19.8595%2020.6406%2020%2020.9797%2020%2021.3333V22.6667C20%2023.0203%2019.8595%2023.3594%2019.6095%2023.6095C19.3594%2023.8595%2019.0203%2024%2018.6667%2024H17.3333C16.9797%2024%2016.6406%2024.1405%2016.3905%2024.3905C16.1405%2024.6406%2016%2024.9797%2016%2025.3333V26.6667C16%2027.0203%2016.1405%2027.3594%2016.3905%2027.6095C16.6406%2027.8595%2016.9797%2028%2017.3333%2028H20'%20stroke='%231C1D3B'%20stroke-width='2'%20stroke-linecap='round'%20stroke-linejoin='round'/%3e%3cpath%20d='M24%2020V22.6667C24%2023.0203%2024.1405%2023.3594%2024.3905%2023.6095C24.6406%2023.8595%2024.9797%2024%2025.3333%2024H26.6667'%20stroke='%231C1D3B'%20stroke-width='2'%20stroke-linecap='round'%20stroke-linejoin='round'/%3e%3cpath%20d='M28%2020V28'%20stroke='%231C1D3B'%20stroke-width='2'%20stroke-linecap='round'%20stroke-linejoin='round'/%3e%3c/g%3e%3cdefs%3e%3cclipPath%20id='clip0_17690_160'%3e%3crect%20width='32'%20height='32'%20fill='white'/%3e%3c/clipPath%3e%3c/defs%3e%3c/svg%3e)
'%3e%3cpath%20d='M10.6667%208.00001C10.6667%207.29277%2010.9477%206.61449%2011.4478%206.11439C11.9479%205.61429%2012.6262%205.33334%2013.3334%205.33334H24.0001C24.7073%205.33334%2025.3856%205.61429%2025.8857%206.11439C26.3858%206.61449%2026.6667%207.29277%2026.6667%208.00001V18.6667C26.6667%2019.3739%2026.3858%2020.0522%2025.8857%2020.5523C25.3856%2021.0524%2024.7073%2021.3333%2024.0001%2021.3333H13.3334C12.6262%2021.3333%2011.9479%2021.0524%2011.4478%2020.5523C10.9477%2020.0522%2010.6667%2019.3739%2010.6667%2018.6667V8.00001Z'%20stroke='%231C1D3B'%20stroke-width='2'%20stroke-linecap='round'%20stroke-linejoin='round'/%3e%3cpath%20d='M5.33337%2013.3333C5.33337%2012.6261%205.61433%2011.9478%206.11442%2011.4477C6.61452%2010.9476%207.2928%2010.6667%208.00004%2010.6667H18.6667C19.374%2010.6667%2020.0522%2010.9476%2020.5523%2011.4477C21.0524%2011.9478%2021.3334%2012.6261%2021.3334%2013.3333V24C21.3334%2024.7072%2021.0524%2025.3855%2020.5523%2025.8856C20.0522%2026.3857%2019.374%2026.6667%2018.6667%2026.6667H8.00004C7.2928%2026.6667%206.61452%2026.3857%206.11442%2025.8856C5.61433%2025.3855%205.33337%2024.7072%205.33337%2024V13.3333Z'%20stroke='%231C1D3B'%20stroke-width='2'%20stroke-linecap='round'%20stroke-linejoin='round'/%3e%3c/g%3e%3cdefs%3e%3cclipPath%20id='clip0_17690_177'%3e%3crect%20width='32'%20height='32'%20fill='white'/%3e%3c/clipPath%3e%3c/defs%3e%3c/svg%3e)